-
Course Code
ATSK-001

AutoCAD Level 1 Essentials
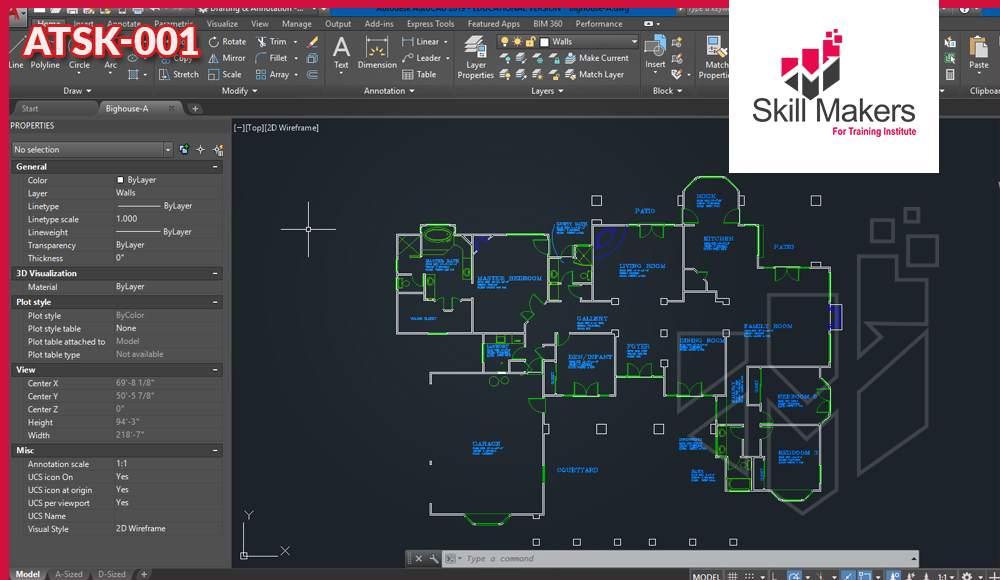
- Essentials class is designed for those using AutoCAD® or AutoCAD LT® with a Windows operating system. This course covers the essential core topics for working with the AutoCAD software. The teaching strategy is to start with a few basic tools that enable the student to create and edit a simple drawing, and then continue to develop those tools. More advanced tools are introduced throughout the class. Not every command or option is covered.
Learning Outcomes
- Enable participants to create a basic 2D drawing in the AutoCAD software
- Use the fundamental features of AutoCAD
- Use the precision drafting tools in AutoCAD to develop accurate technical drawings
- Understanding the AutoCAD workspace and user interface
- Using basic drawing, editing, and viewing tools
- Organizing drawing objects on layers
- Inserting reusable symbols (blocks)
- Preparing a layout to be plotted
- Adding text, hatching, and dimensions
Course Contents
- 1.1 Starting the Software
- 1.2 User Interface
- 1.3 Working with Commands
- 1.4 Cartesian Workspace
- 1.5 Opening an Existing Drawing File
- 1.6 Viewing Your Drawing
- 1.7 Saving Your Work
- 2.1 Drawing Lines
- 2.2 Erasing Objects
- 2.3 Drawing Vertical and Horizontal Lines
- 2.4 Drawing Rectangles
- 2.5 Drawing Circles
- 2.6 Undo and Redo Actions
- 3.1 Create a Simple Drawing
- 3.2 Create Simple Shapes
- 4.1 Using Running Object Snaps
- 4.2 Using Object Snap Overrides
- 4.3 Polar Tracking at Angles
- 4.4 Object Snap Tracking
- 4.5 (Optional) Drawing with Snap and Grid
- 5.1 Selecting Objects for Editing
- 5.2 Moving Objects
- 5.3 Copying
- 5.4 Rotating Objects
- 5.5 Scaling Objects
- 5.6 Mirroring Objects
- 5.7 Editing with Grips
- 6.1 Schematic Project: Electronics Diagram
- 6.2 Architectural Project: Landscape
- 6.3 Mechanical Project: Using Polar and Tracking
- 6.4 Mechanical Project: Surge Protector
- 6.5 Mechanical Project: Satellite
- 7.1 Creating New Drawings with Templates
- 7.2 What are Layers?
- 7.3 Layer States
- 7.4 Changing an Object’s Layer
- 8.1 Drawing Arcs
- 8.2 Drawing Polylines
- 8.3 Editing Polylines
- 8.4 Drawing Polygons
- 8.5 Drawing Ellipses
- 9.1 Working with Object Properties
- 9.2 Measuring Objects
- 10.1 Architectural Project
- 10.2 Mechanical Project
- 10.3 Civil Project
- 11.1 Trimming and Extending Objects
- 11.2 Stretching Objects
- 11.3 Creating Fillets and Chamfers
- 11.4 Offsetting Objects
- 11.5 Creating Arrays of Objects
- 12.1 What are Blocks?
- 12.2 Working with Dynamic Blocks
- 12.3 Inserting Blocks
- 12.4 Inserting Blocks using the Tool Palettes
- 12.5 Inserting Blocks using the Design Center
- 13.1 Mechanical Project 1: Plate
- 13.2 Mechanical Project 2: Gasket
- 13.3 Mechanical Project 3: Plate
- 13.4 Mechanical Project 4: Rocker Arm
- 13.5 Architectural Project 1: Floor Plan
- 13.6 Architectural Project 2: Floor Plan
- 13.7 Civil Project: Parking Lot
- 14.1 Working in Layouts
- 14.2 Creating Layouts
- 14.3 Creating Layout Viewports
- 14.4 Guidelines for Layouts
- 15.1 Printing Concepts
- 15.2 Printing Layouts
- 15.3 Print and Plot Settings
- 16.1 Mechanical Project
- 16.2 Architectural Project
- 17.1 Working with Annotations
- 17.2 Adding Text in a Drawing
- 17.3 Modifying Multiline Text
- 17.4 Formatting Multiline Text
- 17.5 Adding Notes with Leaders to Your Drawing
- 17.6 Creating Tables
- 17.7 Modifying Tables
- 18.1 Hatching
- 18.2 Editing Hatches
- 19.1 Dimensioning Concepts
- 19.2 Adding Linear Dimensions
- 19.3 Adding Radial and Angular Dimensions
- 19.4 Editing Dimensions
- 20.1 Mechanical Project
- 20.2 Architectural Project 1
- 20.3 Architectural Project 2
- 20.4 Civil Project
Chapter 1: Getting Started with AutoCAD
Chapter 2: Basic Drawing and Editing Commands
Chapter 3: Projects: Creating a Simple Drawing
Chapter 4: Drawing Precision in AutoCAD
Chapter 5: Making Changes in Your Drawing
Chapter 6: Projects: Making Your Drawings More Precise
Chapter 7: Organizing Your Drawing with Layers
Chapter 8: Advanced Object Types
Chapter 9: Analyzing Model and Object Properties
Chapter 10: Projects: Drawing Organization and Information
Chapter 11: Advanced Editing Commands
Chapter 12: Inserting Blocks
Chapter 13: Projects: Creating More Complex Objects
Chapter 14: Setting Up a Layout
Chapter 15: Printing Your Drawing
Chapter 16: Projects: Preparing to Print
Chapter 17:
Chapter 18: Hatching
Chapter 19: Adding Dimensions
Chapter 20: Projects: Annotating Your Drawing
Our Methodology
- Make coaching and monitoring innovative and using modern
- Media training also using on the go training by using interactive means and focusing on
- The exercises, practical applications and real situations study
- Live delivery method, instructor-led training
- Experienced consultant, trainers, and professional
- Qualified trainer with high-level experience
Attendance Reports
- Send daily attendance reports to training departments
- Send full attendance report to training dep. by the end of the course
- Attend 100 % from the course days also provide daily
- Issue attendance certificate for participant who attend minimum 80% from the course duration
Pre/Post Reports
- Pre- assessment before starting training
- Post assessment after finish training
- Full report for the deferent between Pre-& Post assessment
Who Should Attend
- Engineers
- Professionals who want unparalleled creative freedom, productivity, and precision for producing superb 3D modeling
